NSDL : Contract360 Preproduction App
The users can seamlessly leverage Aadhar-based fingerprint signing using biometric devices with the help of the Contract360 App.
Contract360 App:
The fingerprint signing is seamlessly integrated into the Contract360 app environment, providing users with a more streamlined and intuitive experience. This allows users to leverage biometric devices, such as fingerprint scanners to authenticate their identity and sign documents directly within Contract360 Android applications.
This document aims to provide comprehensive guidance for performing the Fingerprint signing with the help of the Startek FM220U L1 device using the Contract360 App with NSDL as the Esigning Service Provider (ESP) in the Preproduction environment.
To use the FM220U L1 device to perform the fingerprint signing it should have a valid subscription. You can verify the status of the subscription of the device by visiting: https://www.acpl.in.net/fm220_entry/DEV_SUB_EXTN.aspx. Enter the device serial number and it will provide the status of the subscription.
If any help is required please drop an email to [email protected] for future assistance.
Below are the prerequisites required to perform the Aadhaar-based fingerprint signing using the Contract360 Pre-production app with the help of the STARTEK FM220U L1 device.
1. APCL L1 RD Service App: Download from the Google Play Store.
2. STARTEK Biometric Device L1 (FM220U L1).
Once you have all the above-mentioned prerequisites follow the below steps to set up the Startek FM220U L1 device to perform the signing.
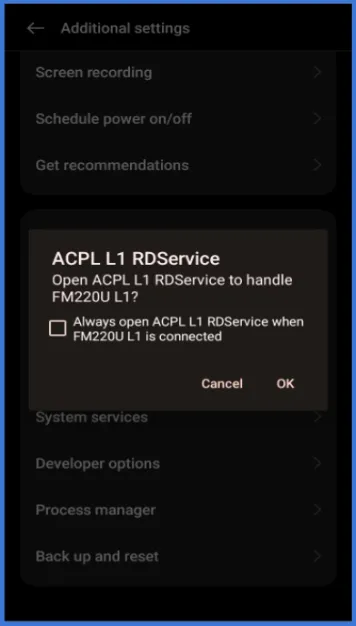
Step 1: Connect the FM220U L1 device with the mobile device. Allow all the permissions that are prompted on the screen.
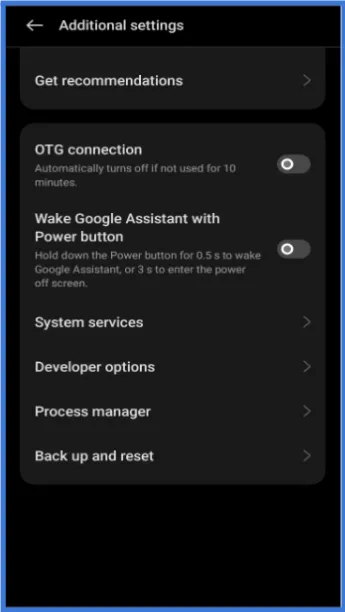
Step 1.1: If no permission appears on the screen go to the mobile setting apps, search for the “OTG Connection” turn on the toggle, and allow all the permissions that are prompted on the screen.
Step 2: After accepting the permissions, open the APCL L1 RD Service app and allow all the permissions prompted on the screen.
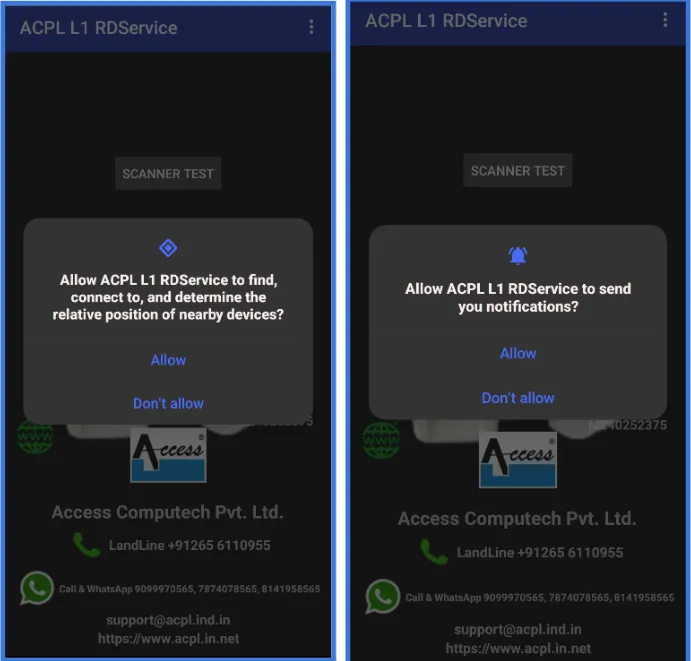
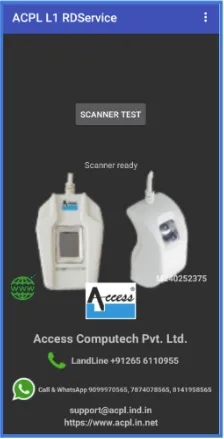
Step 3: Once all the permissions are accepted. Click on the “SCANNER TEST” button to test the device before signing.
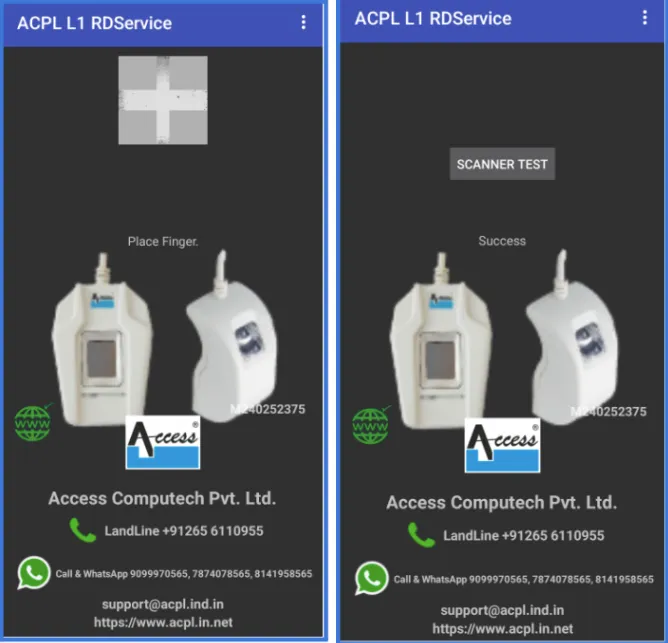
Step 4: Place your finger on the device it will detect your finger and will show a “Success” message on the screen.
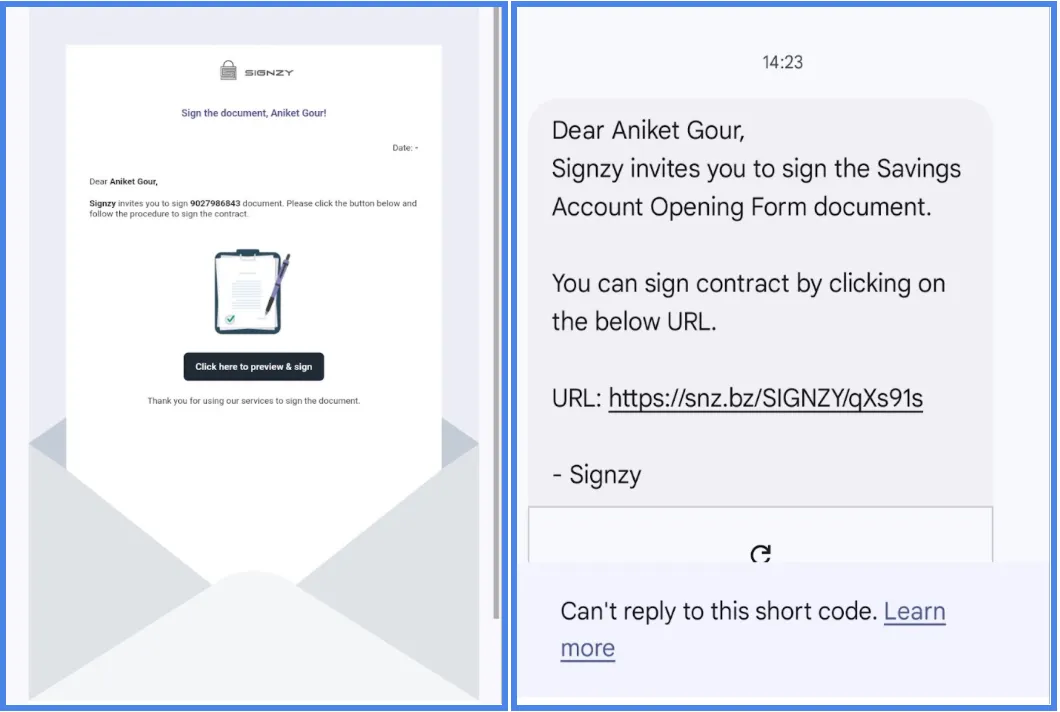
Step 5: Navigate to the signing link sent to the signer’s email and mobile number (provided while initiating the contract).
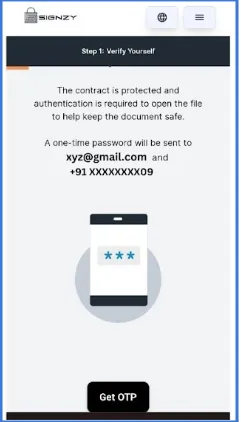
Step 6: Once the signing link is clicked the user will automatically navigated to the Contract360 App. The pre-verification page will open, where the user needs to perform verification using a one-time OTP. Click on the “Get OTP” button.
Step 7: The user will receive the OTP on their email and mobile number provided during contract initiation.
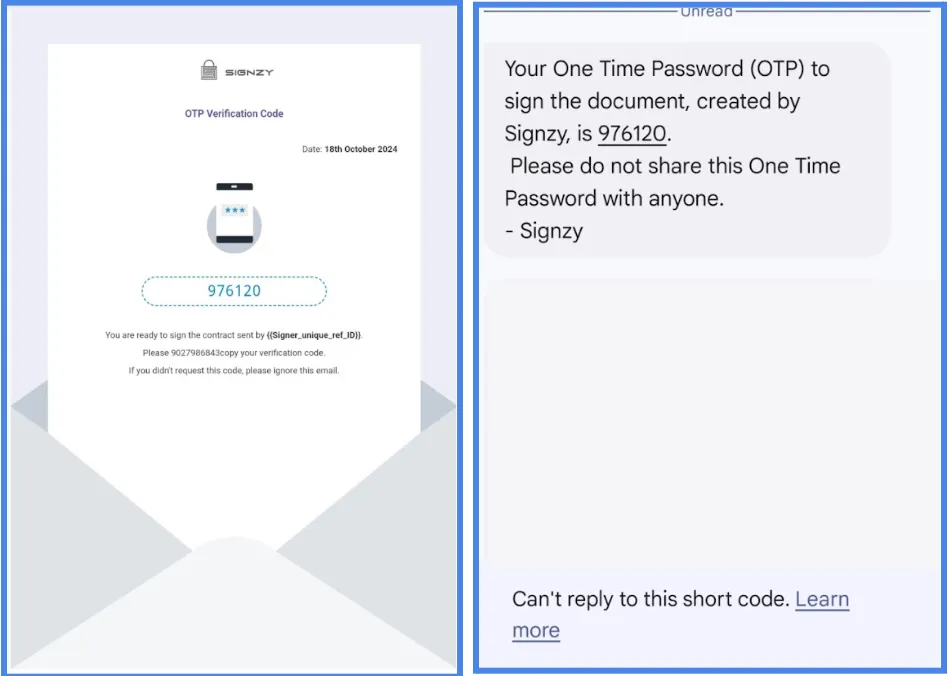
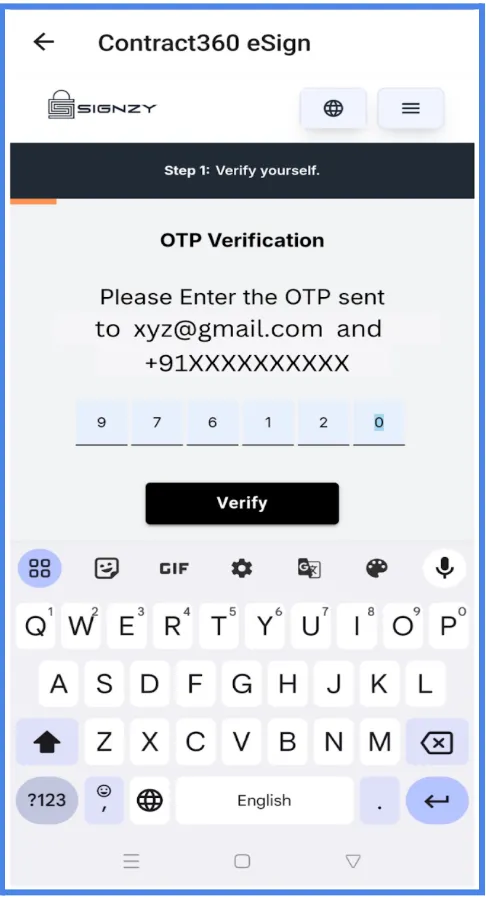
Step 8: Enter the OTP received via email or mobile number and click the “Verify” button.
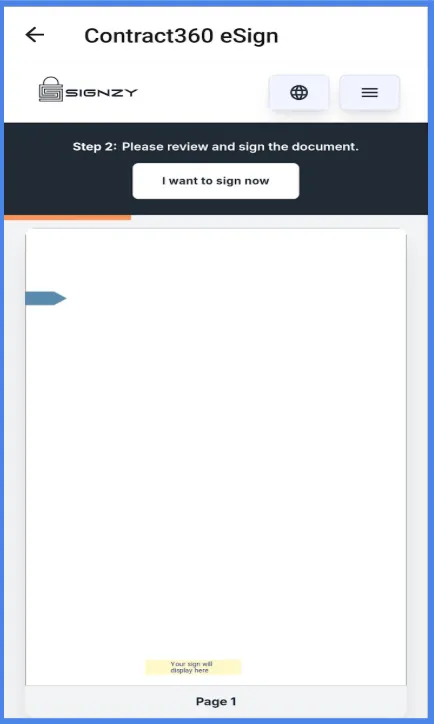
Step 9: Upon successful verification, the user will land on the contract page. Click on the “I want to sign” button to proceed.
Step 10: The NSDL Interface will appear with the consent. Please click on “OK” to continue.

Step 11: Fill in the Aadhar Number and tick the consent check box.

Step 12: The Startek FM220U L1 device connected will be automatically detected. A confirmation message will appear on the screen. Click on “OK” to continue. Click on the "Capture fingerprint button".

Step 13: An ACPL Interface will appear. Place your finger firmly on the device.

Step 14: The confirmation of signing will be prompted on the screen. Click “OK”.

Step 15: Click on the submit button to proceed further.

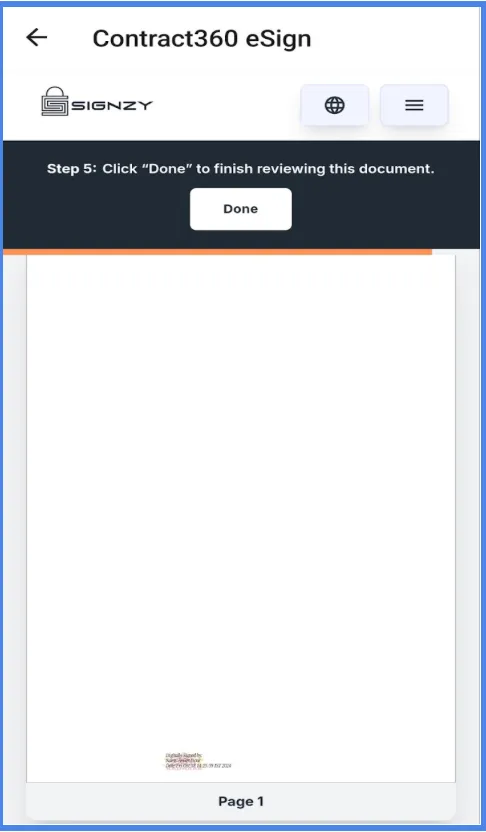
Step 16: The user will be automatically redirected to the signed contract where they can see their signature affixed to the contract. Click on “Done” to complete the signing process
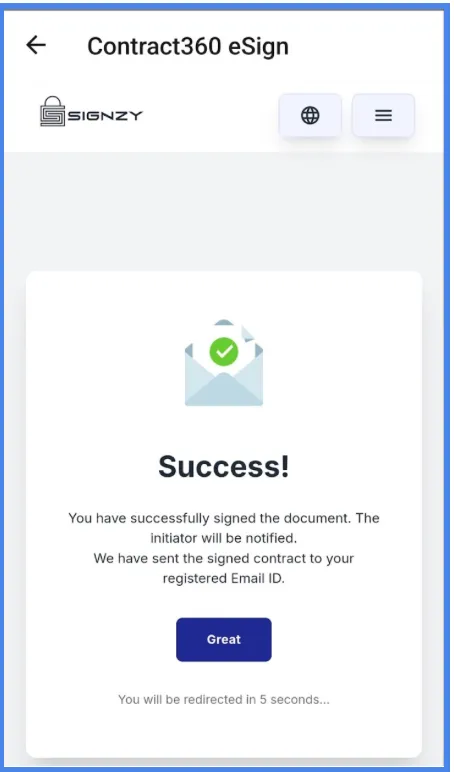
Step 17: The user will see the Success page and can click on the “Great” button or be redirected to the success URL set by the contract initiator after 5 seconds.
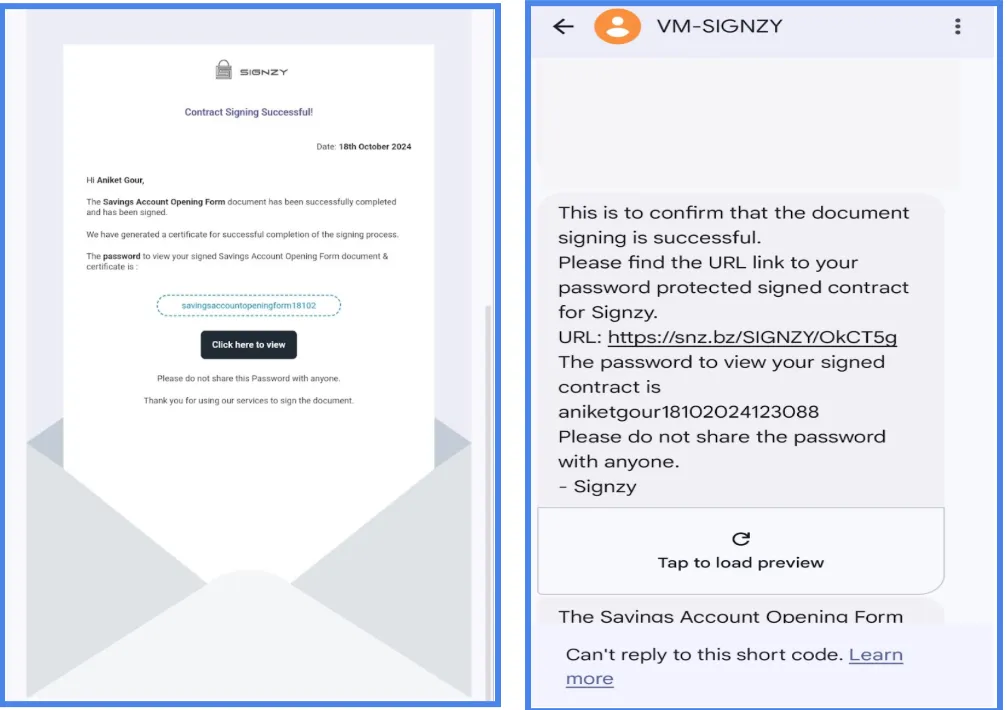
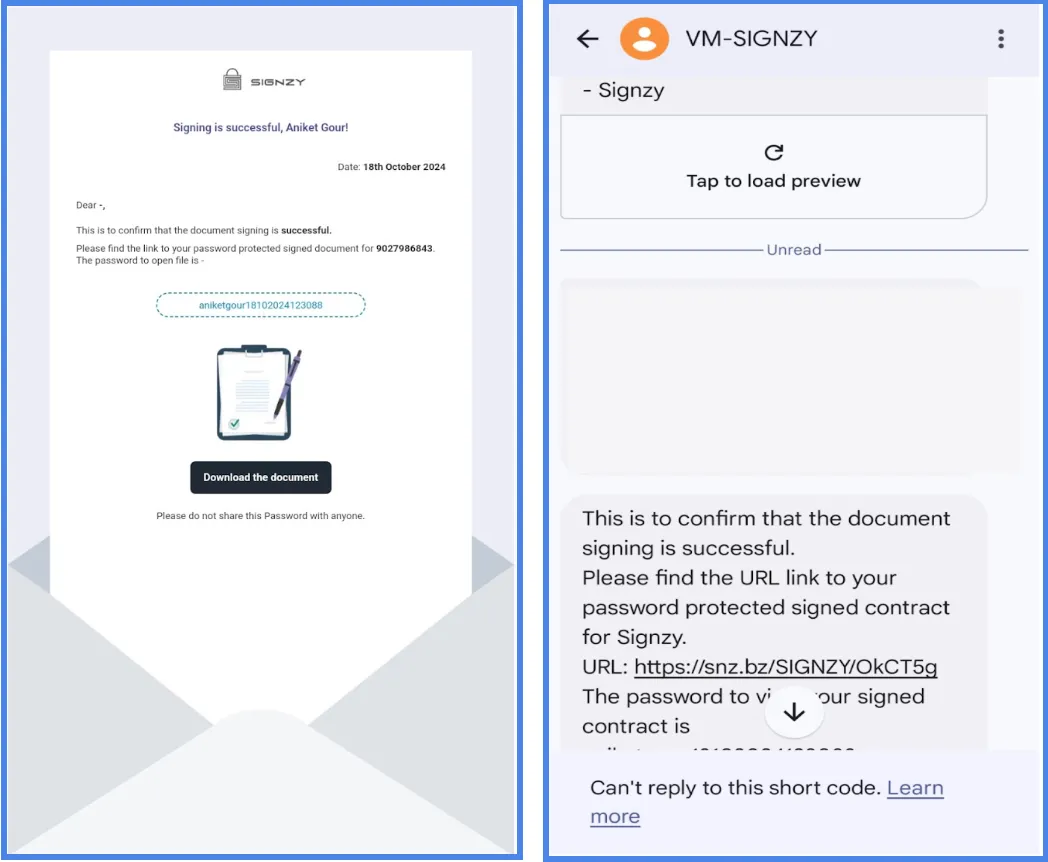
Step 18: The user will receive a confirmation email with the header “Confirmation of signing the document,” containing the signed contract along with the text SMS.
Step 19: Once all signers have signed the contract, the user will receive another email with the header “Your document signing has been finalized successfully,” containing the final signed contract and the Audit Trail Certificate.
